How we make our pizza dough at Sips & Pies
Making good pizza takes time, temp control, and zero gatekeeping. Here’s the step-by-step process behind the crust at Sips & Pies.
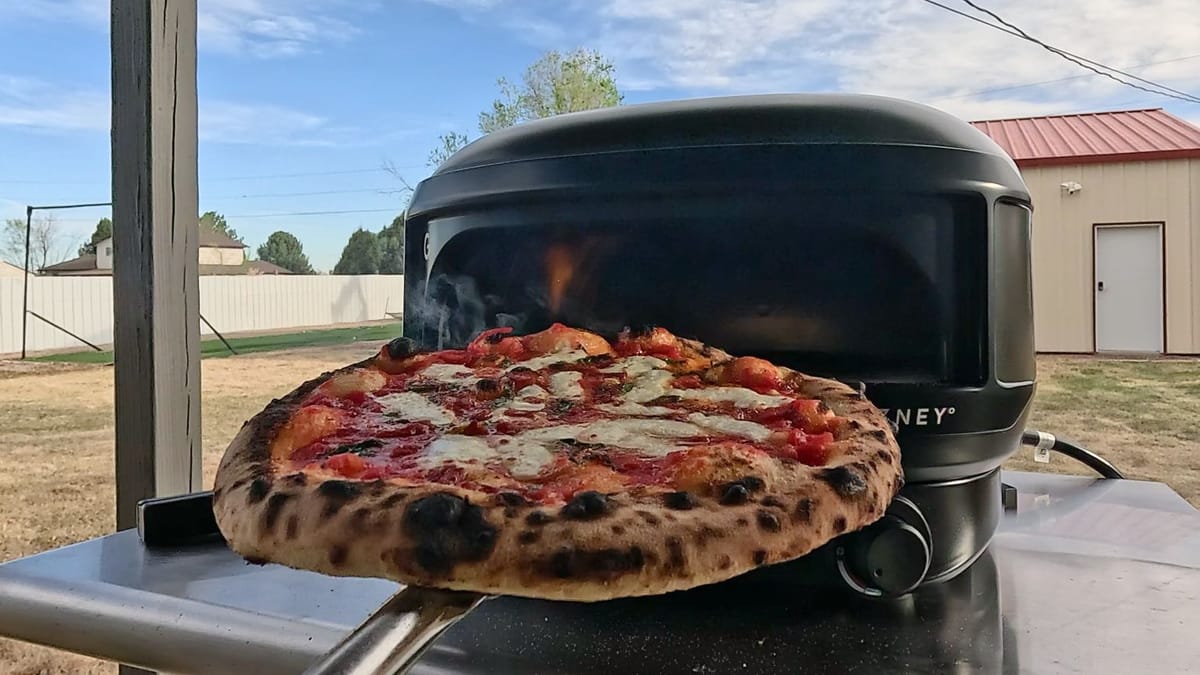
Disclosure: This post contains affiliate links, which means I may earn from qualifying purchases.
When we decided it was time to get serious about opening a pizza truck, one of my personal goals was to master the art of making dough. I spent over a year trying as many different processes, ingredients, recipes and methods as I could.
While attending the International Pizza Expo in 2024, I learned a lot from random demonstrations, discussions and classes. I took so many notes and tried to soak it all in. I left the Expo feeling inspired and holding what felt like an entire industry's worth of knowledge.
It took another few months of making adjustments, asking for advice from other pizza makers, and then making more adjustments. I'll never forget the night we all took our first bite of a new recipe, immediately looked at each other, and just smiled. We knew we'd finally cracked the code; we had the dough recipe for Sips & Pies.
The most common question I get asked about Sips & Pies (outside of "When are you opening again?") is how we make our dough.
Our process and recipe will never be a secret.
Early on, I selfishly created a dough recipe calculator to help me scale our recipe so I didn't have to constantly do math. I published the calculator and have a link to it on the Sips & Pies website, but it's lacking a step-by-step process of how we make our dough. In an effort to fix that, I wanted to share the core equipment we use and the steps we take when making our dough. I won't bore you with every single detail, but will be as thorough as I can.
Equipment
Outside of bowls, scrapers and other measuring tools, there is some specialized equipment we use.
- A spiral dough mixer. Out of all the equipment upgrades we've made, this had biggest impact on our dough. We have the Famag IM8S and the Ooni Halo Pro, but the smaller (and slightly less expensive) Ooni Halo Core will also get the job done.
- A scale. We use two of them, actually. A gram scale for measuring yeast and a larger kitchen scale for measuring water, flour, and salt.
- An infrared thermometer. Sounds weird, right? But it turns out the temperature of your dough and the ingredients you use matters. I have a few of the Gozney-branded models, along with a generic one. They all work the same.
Ingredients
- Flour — We use Caputo Pizzeria Flour Blue. It's a Tipo 00 flour that's ideal for Neapolitan-style pizza. We keep ours in a fridge to keep it cold, which helps manage dough heat during mixing.
- Salt — We use Morton's Fine Sea Salt. You can use another brand, but don't stray from fine sea salt.
- Water — Tap water is fine, just make sure it's cold. I recommend putting a pitcher of it in the fridge the night before you make dough. Another step to manage dough temp during mixing.
- Yeast — We use Red Star Active Dry Yeast.
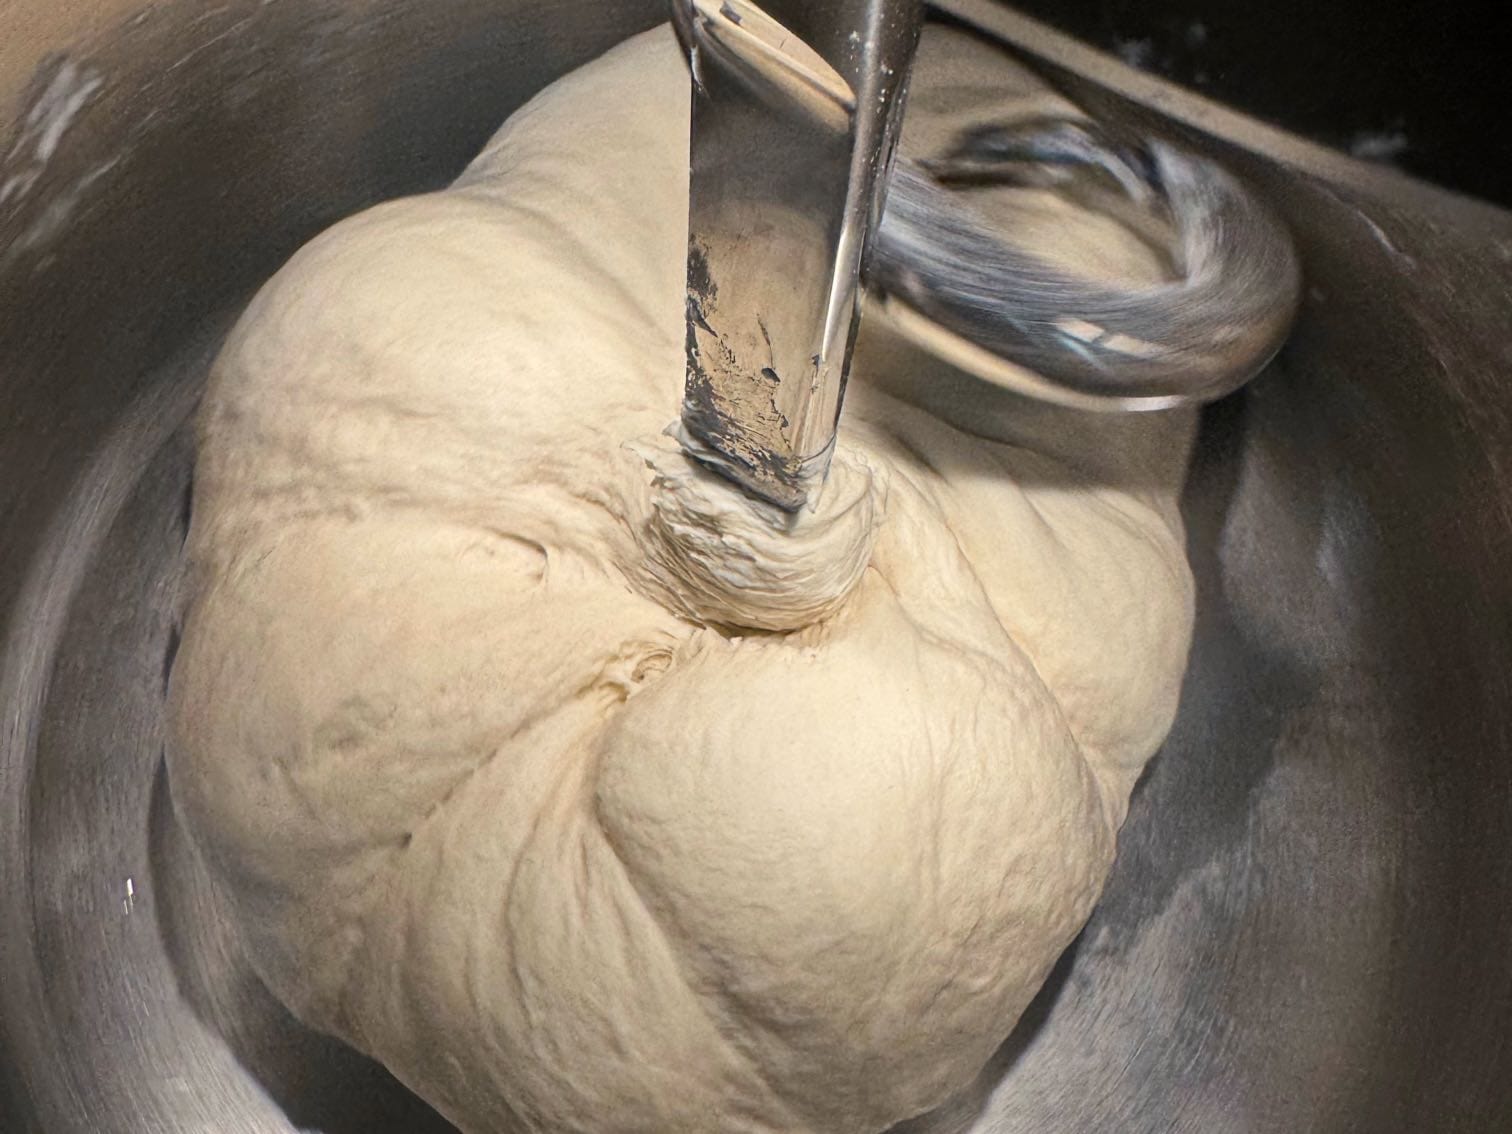
It's time to make pizza dough
I used to regularly brew beer at home, and it taught me a lot of processes, but more than anything it taught me how to have patience. Making beer, especially good beer, doesn't happen overnight. If you rush the process, the overall quality and end product suffers.
I take that same philosophy to making pizza dough, which means it takes time for our dough to be ready. It's a four-day process, in fact.
If you're going to make pizza on Saturday, you'll start by making a poolish on Tuesday. On Wednesday you'll make the dough, and then let it cold ferment until Saturday.
The combination of the poolish (read more about preferments here) and the long ferment adds plenty of flavor — making the entire process worth it.
The first step, however, is using my dough recipe calculator. I've added a dedicated Dough Calculator page to Pixels & Pizza, which will live in the top navigation bar going forward.
Except for the number of dough balls, all of the preset values are what we use. They can be adjusted depending on the season and humidity, but our ball size stays constant: 230-gram dough balls for 10-inch pizzas.
Edit any of the fields to fit your needs, then tap Calculate. The results will give you two different sections. I take a screenshot of the results every time I use the calculator so I can easily refer to it, and because it gives me a historical data point to reference if I feel the dough came out too wet, dry or whatever else.
Making a poolish
The first section in the calculator will give you quantities to make a poolish.
A poolish is equal parts flour and water, with a touch of yeast. Weigh everything out, then mix it up in a small container that has a lid and room for the poolish to grow, much like a sourdough starter does.
Leave it on the counter or in a warm place overnight. It should roughly double in size. I try to time using the poolish roughly 15-18 hours after I make it.
Making the dough
The second section of the dough calculator results will give you the rest of the ingredient amounts you'll need to make the dough the following day.
One extra step I take to wake up active dry yeast is blooming it in warm water. I take 10% of the recipe’s total water weight and measure it warm in a small separate cup, leaving the other 90% ice cold in the pitcher. For example, if the batch calls for 500 grams of water, I measure 450 grams of cold water and 50 grams of lukewarm water (around 85-90°F). I stir the yeast into the warm water and let it sit for 5 to 10 minutes while I weigh out the flour and salt.
The basic mixing steps I follow are:
- Pour ~80% of the water to the mixing bowl
- Add the poolish to the bowl and turn the mixer on low
- Once the poolish breaks apart in the water, slowly start adding the flour
- When about half the flour has been incorporated, pour in the bloomed yeast mixture
- Add the remaining flour, then slowly drizzle in more cold water as the dough begins to come together
- Add the salt once the dough has formed into a cohesive mass
- Drizzle in the final splash of cold water to help dissolve the salt and finish hydrating the dough
There's more nuance, of course, but that's the gist. The point of adding cold water over the course of mixing the dough is for temperature control. As it mixes, heat is naturally created, and in turn it warms up your dough.
Ideally your dough temp won't get above ~75°F, and will be fully mixed in 12-15 minutes. I no longer track mixing time. I do pay close attention to the dough temperature, though.
Weighing and balling the dough
Once the dough has come together, it isn't too sticky and you're happy with it, let it rest. I cover the mixing bowl with a towel and set a timer for an hour. After the rest, I weigh 230 grams of dough, ball it tight, and place it in a pizza tray. The tray(s) then go into the fridge for the next three days.
Take the dough out of the fridge a couple of hours before you're going to start cooking, allowing it to get to room temp.
What's surprised me the most about the pizza industry as a whole is how welcoming and open everyone is. Everyone openly shares recipes, techniques and is willing to help. Hopefully this helps you level up your dough-making process at home. If not, let me know where you're struggling and I'll help the best I can.